
How to Prepare Driftwood for Aquariums (Step-by-Step)
Driftwood adds a natural, authentic look to any aquarium while also providing structure, hiding spots, and surfaces for beneficial bacteria and plants. However, driftwood should never be added to an aquarium without proper preparation.
This step-by-step guide explains exactly how to prepare driftwood for aquarium use to prevent cloudy water, floating issues, and unwanted contaminants.

Why Driftwood Needs Preparation
Preparing driftwood helps:
-
Remove dirt and debris
-
Kill unwanted pests or bacteria
-
Reduce excessive tannins
-
Prevent the wood from floating
-
Avoid water quality issues after placement
Skipping this process is one of the most common causes of early tank problems.

Step 1: Choose Aquarium-Safe Driftwood
Only certain types of wood are safe for aquariums.
Aquarium-safe options include:
-
Malaysian Driftwood
-
Spider Wood
-
Cholla Wood
-
Mopani Wood
Avoid soft woods, freshly cut branches, or wood collected from polluted areas. If collecting wood yourself, it must be fully dried hardwood.

Step 2: Rinse and Scrub the Driftwood
Start by rinsing the driftwood under hot running water.
Use a stiff brush (without soap or chemicals) to scrub:
-
Dirt and sand
-
Loose bark
-
Crevices where debris can collect
This removes surface contaminants that can cloud water later.

Step 3: Boil the Driftwood (If Size Allows)
Boiling is the fastest way to prepare driftwood.
How to boil driftwood:
-
Place the wood in a large pot
-
Boil for 1–2 hours
-
Rotate if it cannot fully submerge
-
Replace darkened water as needed
Boiling:
-
Kills bacteria and pests
-
Speeds up tannin release
-
Helps the driftwood sink faster
Dark brown water during boiling is normal and caused by tannins.

Step 4: Soak Driftwood for Larger Pieces
If the driftwood is too large to boil, soaking is the best alternative.
Soaking method:
-
Submerge driftwood in a container of dechlorinated water
-
Change the water every 1–3 days
-
Soak for 1–3 weeks (sometimes longer)
Driftwood is ready when it sinks on its own and the water stays mostly clear.

Step 5: Managing Tannins (Optional)
Tannins give aquarium water a tea-colored tint. Many fish, including bettas and tetras, benefit from tannins.
If you prefer clearer water:
-
Continue soaking longer
-
Use activated carbon temporarily
-
Perform additional water changes
Tannins are not harmful and often provide antibacterial and stress-reducing benefits.

Step 6: Final Inspection Before Adding to the Tank
Before placing driftwood in your aquarium:
-
Rinse it one final time
-
Check for soft or rotting spots
-
Ensure it smells earthy, not sour
A white, jelly-like biofilm may appear after adding driftwood. This is harmless and usually disappears on its own.

Step 7: Add Driftwood to Your Aquarium
Once prepared, place the driftwood directly in the aquarium.
Tips:
-
Anchor with rocks if needed
-
Position it before planting to avoid disturbing the substrate
-
Attach mosses or epiphyte plants for a natural look
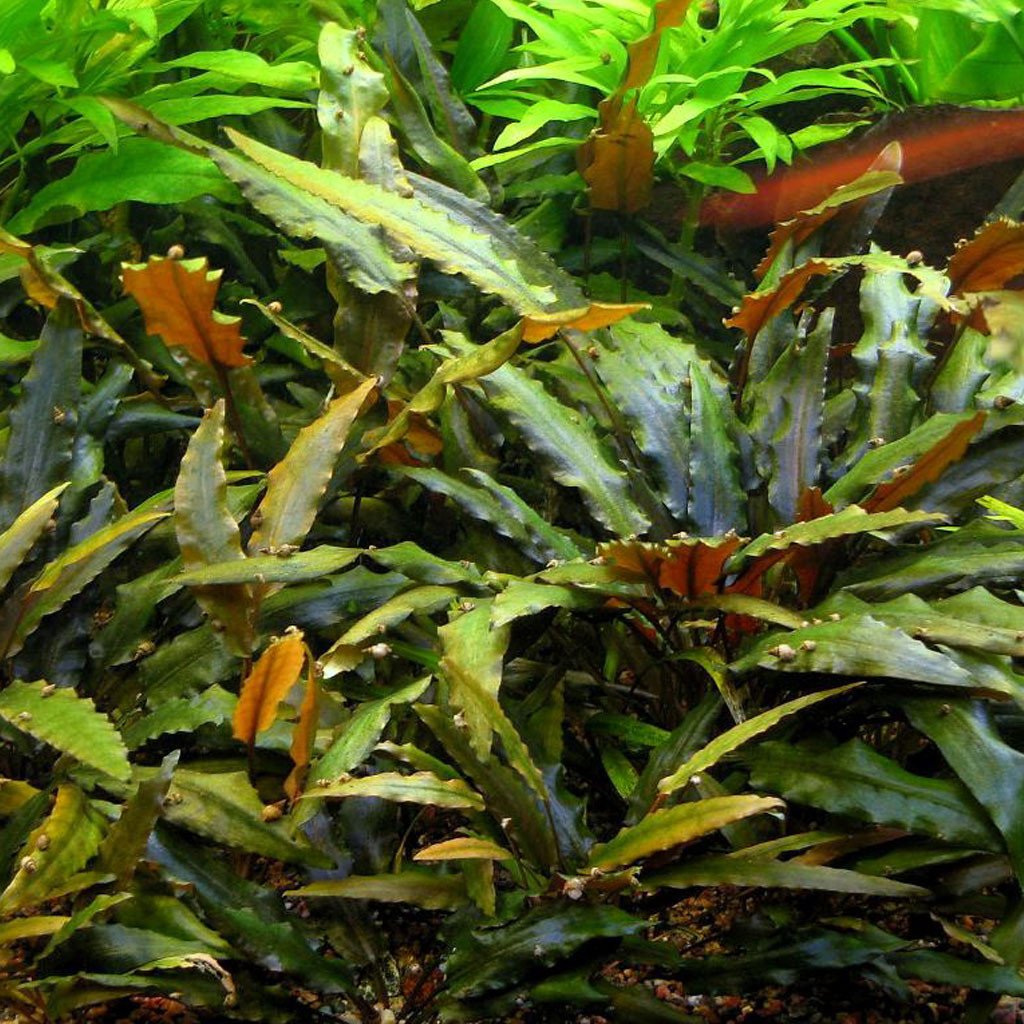
Driftwood pairs well with plants that do not require planting in substrate.

Common Driftwood Questions
Will driftwood lower pH?
Driftwood can slightly lower pH, especially in soft water, but changes are usually mild and stable.
Is white fungus on driftwood dangerous?
No. It is harmless biofilm and temporary.
How long does aquarium driftwood last?
High-quality driftwood can last many years in an aquarium.
Final Thoughts
Properly preparing driftwood ensures a clean, stable, and healthy aquarium. Whether you boil or soak, taking the time to prepare driftwood prevents common problems and helps your aquascape thrive long-term.